はじめに
先日1.0リリースとなった、静的サイトジェネレータのAstroの紹介です。
JSで作成したページをビルドして、JSを含まない早いサイトを生成し、必要な場合には React や Vue といった好きなフレームワークを簡単に組み込むことができるのが特徴になります。
プロジェクト作成
Node は、v14.18.0 以上、または v16.12.0 以上が必要です。
npm や yarn、pnpm で create astro でプロジェクトを作成します。
# npm
$ npm create astro@latest

# yarn
$ yarn create astro

# pnpm
$ pnpm create astro@latest
ウイザードでは作成するサイトのテンプレートを選択できます。
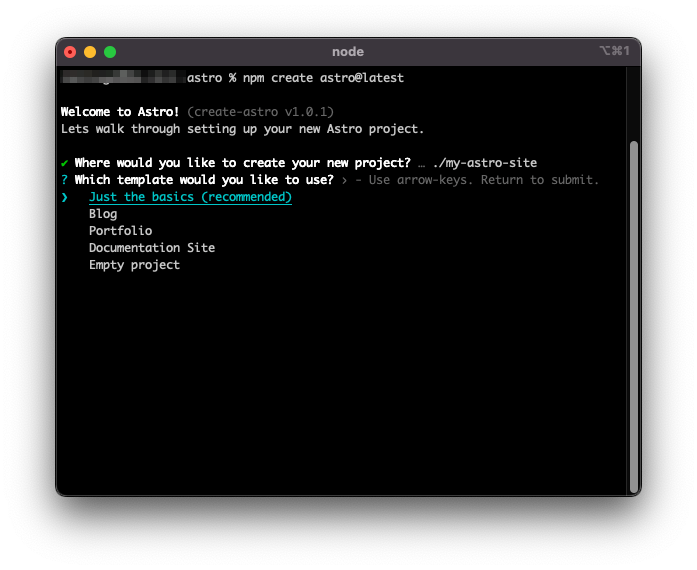
以下のテンプレートが選択できます。 ここでは Just the basics を選択します。
- Just the basics:シンプルなサイト構成
- Blog:ブログサイト
- Portfolio:個人ポートフォリオサイト
- Documentation Site:マニュアルなどのドキュメントサイト
- Empty project:空プロジェクト
(2022年11月追記)現在はこのような選択肢は無くなり、以下のように起動時に指定するように変更されています。
npm create astro@latest -- --template blog
npm create astro@latest -- --template docs
npm create astro@latest -- --template portfolio
npm create astro@latest -- --template minimal
その他はデフォルトのまま進むと以下のようにプロジェクトの作成が完了します。
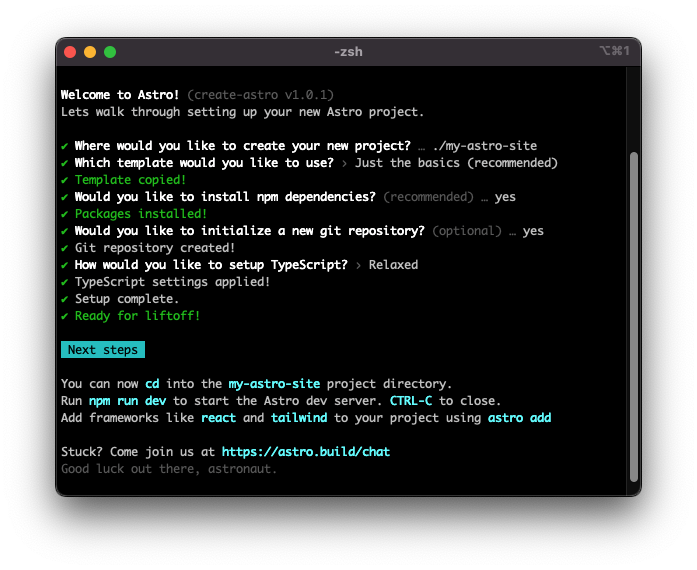
指示にある通り、開発モードで起動します。
$ cd my-astro-site
$ npm run dev
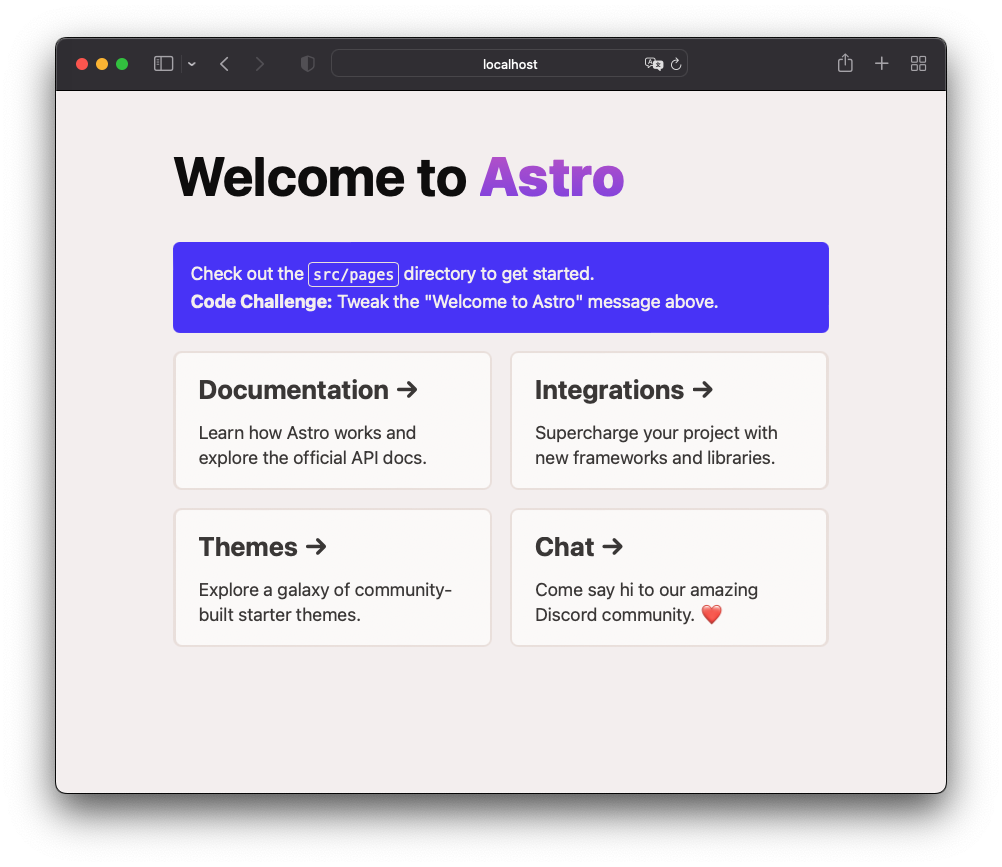
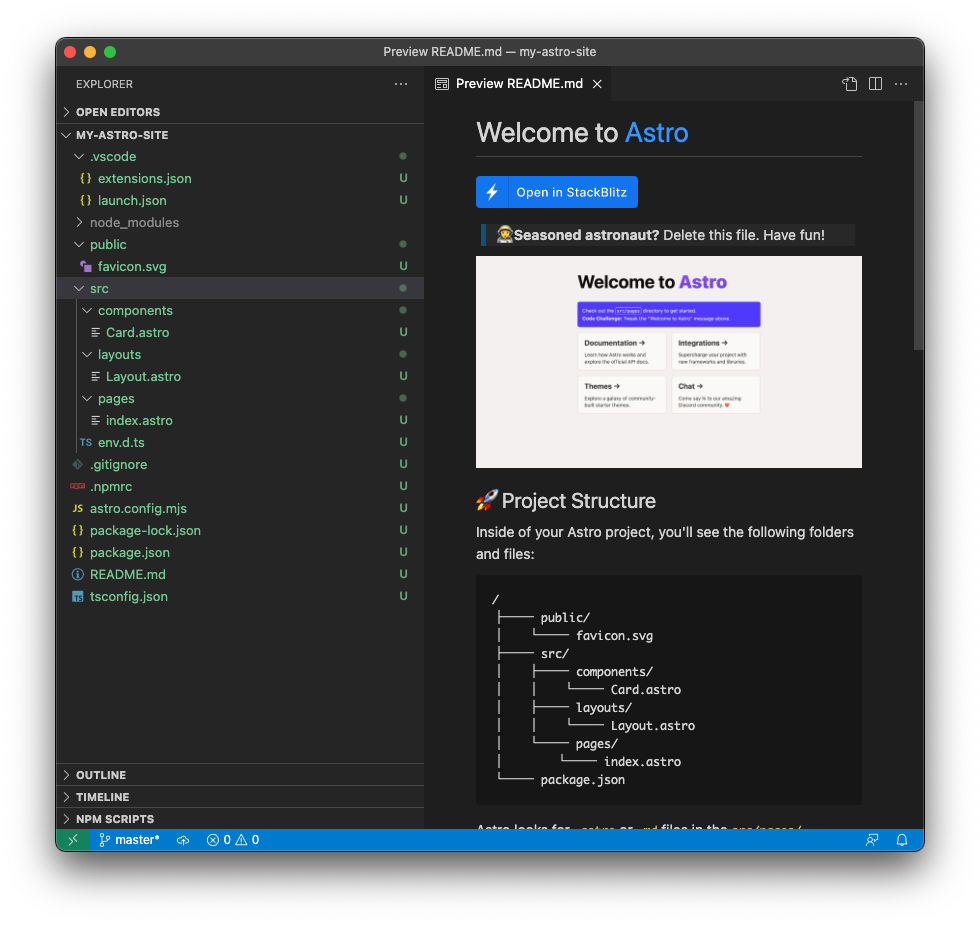
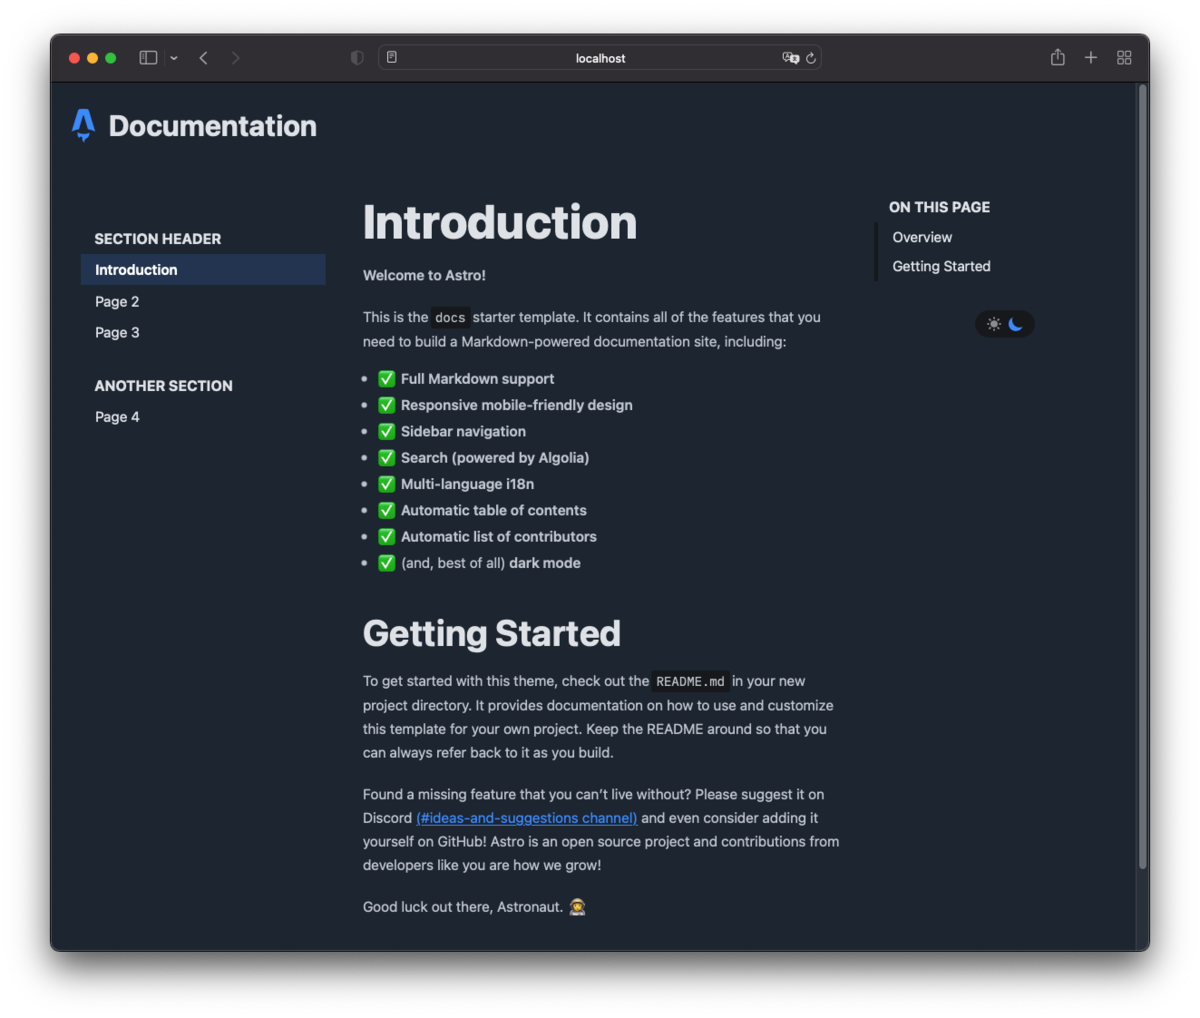
http://localhost:3000/ でアクセスすれば、以下のようなページが表示されます。
プロジェクト構成
プロジェクトにはVSCode用の設定が入っているので、そのまま開けばAstroのシンタックスハイライトなどが有効になります。
主なディレクトリ構成は以下の3つです。
src/components- 再利用可能なコンポーネントを定義。ReactやVue で言うフロントエンドコンポーネントに該当
src/layouts- ページの全体的なレイアウトを定義
src/pages- 各ページのコンテンツを定義
コンポーネント
basic で作成したプロジェクトには、Card コンポーネントが含まれます。
これは Card.astro というファイルで以下のようになっています。
---
export interface Props {
title: string;
body: string;
href: string;
}
const { href, title, body } = Astro.props;
---
<li class="link-card">
<a href={href}>
<h2>
{title}
<span>→</span>
</h2>
<p>
{body}
</p>
</a>
</li>
<style>
:root {
--link-gradient: linear-gradient(45deg, #4f39fa, #da62c4 30%, var(--color-border) 60%);
}
.link-card {
list-style: none;
display: flex;
padding: 0.15rem;
background-image: var(--link-gradient);
background-size: 400%;
border-radius: 0.5rem;
background-position: 100%;
transition: background-position 0.6s cubic-bezier(0.22, 1, 0.36, 1);
}
... 略
</style>
Astro コンポーネントは、YAML front matter と同様に、コードフェンス --- で囲まれたコンポーネントスクリプトと、それに続くコンポーネントテンプレートで構成されます。
コンポーネントスクリプトで定義した変数は、JSX のようにコンポーネントテンプレートで使用できます。
Astro.props でコンポーネントのプロパティを利用しています。
コンポーネントの利用側では以下のようになります。
<Card
    href="https://docs.astro.build/"
    title="Documentation"
    body="Learn how Astro works and explore the official API docs."
/>
<style>...</style> で定義したスタイルは、コンポーネントに閉じたスコープとなります。
グローバルなスタイルがほしい場合は <style is:global>..</style> で定義します。
レイアウト
続いて basic で作成したレイアウトコンポーネント Layout.astro を見てみます。
---
export interface Props {
    title: string;
}
const { title } = Astro.props;
---
<!DOCTYPE html>
<html lang="en">
    <head>
        <meta charset="UTF-8" />
        <meta name="viewport" content="width=device-width" />
        <link rel="icon" type="image/svg+xml" href="/favicon.svg" />
        <meta name="generator" content={Astro.generator} />
            <title>{title}</title>
    </head>
    <body>
        <slot />
    </body>
</html>
<style>
    :root {
        --font-size-base: clamp(1rem, 0.34vw + 0.91rem, 1.19rem);
        --font-size-lg: clamp(1.2rem, 0.7vw + 1.2rem, 1.5rem);
        --font-size-xl: clamp(2.44rem, 2.38vw + 1.85rem, 3.75rem);
        --color-text: hsl(12, 5%, 4%);
        --color-bg: hsl(10, 21%, 95%);
        --color-border: hsl(17, 24%, 90%);
    }
    html {
        font-family: system-ui, sans-serif;
        font-size: var(--font-size-base);
        color: var(--color-text);
        background-color: var(--color-bg);
    }
    body {
        margin: 0;
    }
    :global(h1) {
        font-size: var(--font-size-xl);
    }
    :global(h2) {
        font-size: var(--font-size-lg);
    }
    :global(code) {
        font-family: Menlo, Monaco, Lucida Console, Liberation Mono, DejaVu Sans Mono,
            Bitstream Vera Sans Mono, Courier New, monospace;
    }
</style>
特筆すべきことは、<slot /> タグだけです。
<slot /> タグは、このタグの子要素がこの位置に埋め込まれます。
以下のようにレイアウトタグを使った場合に、子要素である<main>...</main>が <slot /> 位置に埋め込まれることになります。
<Layout title="Welcome to Astro.">
    <main>
        ...
    </main>
</Layout>
ページ
同様に、ページコンポーネント index.astro を見てみます。
---
import Layout from '../layouts/Layout.astro';
import Card from '../components/Card.astro';
---

<Layout title="Welcome to Astro.">
    <main>
        <h1>Welcome to <span class="text-gradient">Astro</span></h1>
        <p class="instructions">
            Check out the <code>src/pages</code> directory to get started.<br />
            <strong>Code Challenge:</strong> Tweak the "Welcome to Astro" message above.
        </p>
        <ul role="list" class="link-card-grid">
            <Card
                href="https://docs.astro.build/"
                title="Documentation"
                body="Learn how Astro works and explore the official API docs."
            />
            <Card
                href="https://astro.build/integrations/"
                title="Integrations"
                body="Supercharge your project with new frameworks and libraries."
            />
            ...
        </ul>
    </main>
</Layout>

<style>
    :root {
        --astro-gradient: linear-gradient(0deg, #4f39fa, #da62c4);
    }
    h1 {
        margin: 2rem 0;
    }
    ...
</style>
先程紹介した Layout タグと Card タグを使ってページを構成しているだけです。
src/pages 以下に配備したページコンポーネントが、ファイルパスに基づいてルーティングされます。
また、ページのコンテンツには Markdown ファイルや json、xml といった形式でコンテンツを記載することができます。
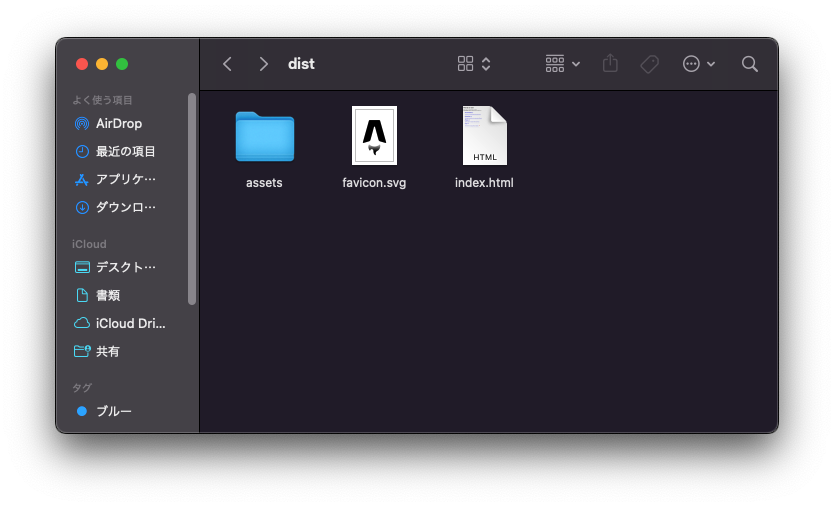
ビルド
ビルドは以下のコマンドで行います。
$ npm run build

dest ディレクトリにプレーンなHTMLが生成されます。
なお、その他のコマンドは以下の通りです。
| コマンド | アクション |
|---|---|
npm install |
依存をインストール |
npm run dev |
開発サーバを起動 localhost:3000 |
npm run build |
サイトをビルドして./dist/ へ成果物を作成 |
npm run preview |
デプロイ前のサイトプレビュー |
npm run astro ... |
astro add, astro preview などのコマンド実行 |
npm run astro --help |
ヘルプ |
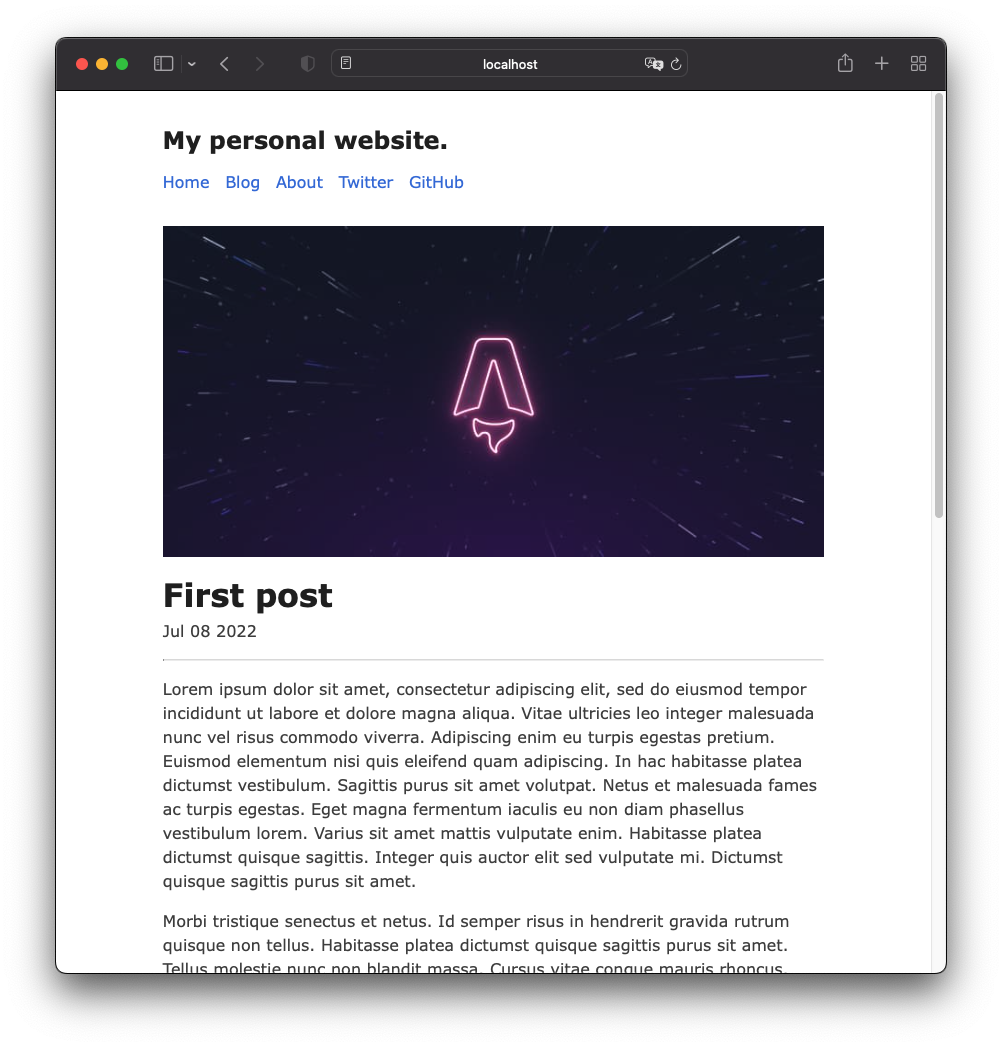
Blog テンプレート
Blog テンプレート を選択した場合には以下のようになります。
ブログのエントリはMarkdownファイルで、以下のようなメタ情報を定義しています。
---
layout: "../../layouts/BlogPost.astro"
title: "First post"
description: "Lorem ipsum dolor sit amet"
pubDate: "Jul 08 2022"
heroImage: "/placeholder-hero.jpg"
---

Lorem ipsum dolor sit amet, consectetur adipiscing elit, sed do eiusmod tempor incidi
...
プロジェクト構成は以下のようになります。

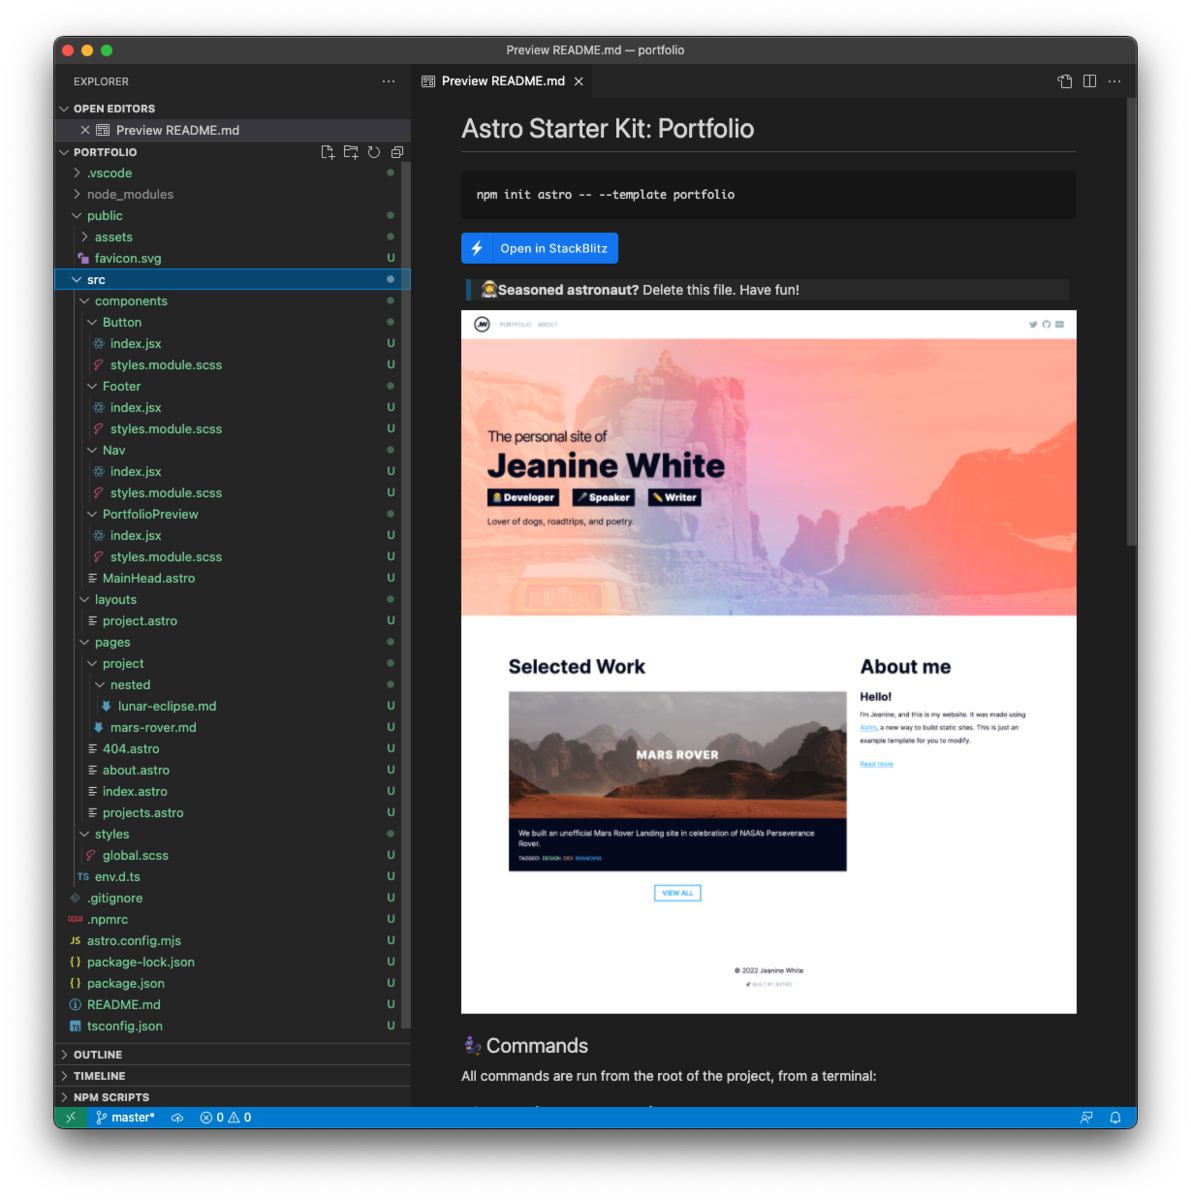
Portfolio テンプレート
Portfolio テンプレート を選択した場合には以下のようになります。

プロジェクト構成は以下のようになります。
Documentation テンプレート
このテンプレートがよく使うのではないかと思います。
プロジェクト構成は以下のようになります。
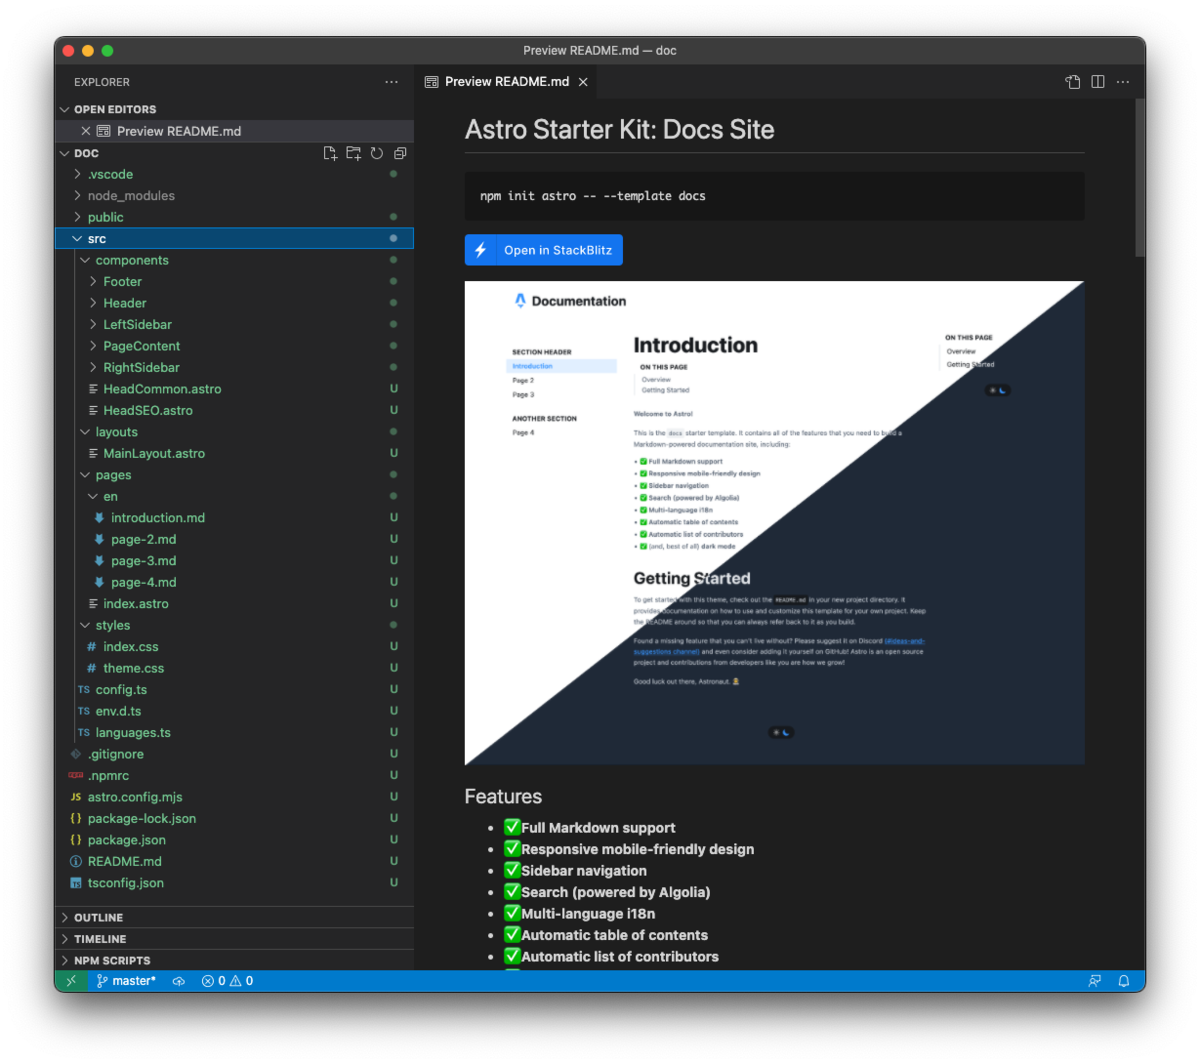
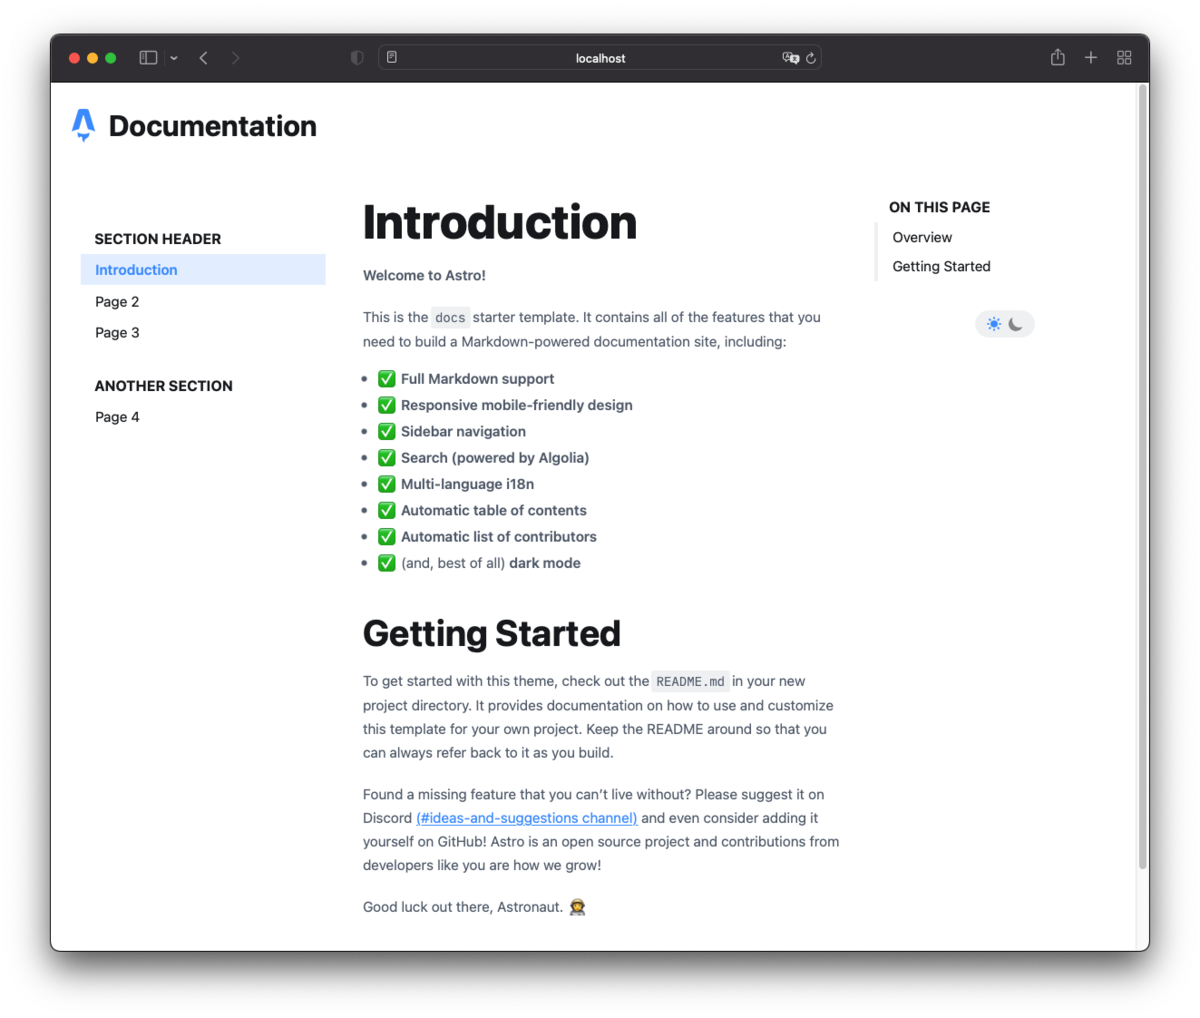
ダークモードや多言語化対応、オプションで全文検索などが入っています。
まとめ
静的サイトジェネレータのAstro の概要を紹介しました。
簡単なので、あとは公式のドキュメントを参照いただければと思います。
コンテンツメインのサイト作成用途には、第一の選択肢になるのではないかなと思います。
