blog1.mammb.com の続きで Phoenix。
Elixir 版 RoR の Phoenix Framework。現在のバージョンは V0.15.0。
- 公式サイト
http://www.phoenixframework.org/
- Github
https://github.com/phoenixframework/phoenix
事前準備
必要に応じて以下を入れておく。
node と npm
Phoenix はアセットのコンパイルに brunch.io を使うので、node と npm が入っていない場合は入あらかじめ入れておく。
$ brew update
$ brew install node
静的なアセットを使わない場合は後ででてくる mix コマンドで --no-brunch を付ければ node と npm は不要。
Hex
Erlang のパッケージ管理ツール Hex を以下で入れておく。
$ mix local.hex
こちらも、ここで入れずとも phoenix 導入時に合わせて入れられるので、事前に入れておかなくても良い。
Phoenix framework のインストール
最新のリリースアーカイブは Github の以下で確認。
https://github.com/phoenixframework/phoenix/releases
現在の最新版は、phoenix_new-0.15.0.ez 。
対象のアーカイブを以下の mix コマンドで入れる。
$ mix archive.install https://github.com/phoenixframework/phoenix/releases/download/v0.15.0/phoenix_new-0.15.0.ez
archive.install により、<path_to_home>/.mix/archives/phoenix_new-0.15.0.ez の中に Phoenix が入る。これで mix の phoenix.new が使えるようになる。
プロジェクトの作成
phoenix_example という名前のプロジェクトを作成する。
$ mix phoenix.new phoenix_example
適当なディレクトリで、mix phoenix.new すればプロジェクトのひな形が作られる。
以下のような感じになる。
* creating phoenix_example/config/config.exs
* creating phoenix_example/config/dev.exs
* creating phoenix_example/config/prod.exs
〜中略〜
* creating phoenix_example/web/static/assets/images/favicon.ico

Fetch and install dependencies? [Yn] y
* running npm install && node node_modules/brunch/bin/brunch build

We are all set! Run your Phoenix application:

    $ cd phoenix_example
    $ mix deps.get
    $ mix ecto.create
    $ mix phoenix.server

You can also run your app inside IEx (Interactive Elixir) as:

    $ iex -S mix phoenix.server
たくさんファイルが作られるが、プロジェクト構成は、ほぼ Reils と同じ。
次に以下のコマンドで依存ライブラリを取得。
$ cd phoenix_example
$ mix deps.get
現時点だと各バージョンは以下の通り。
$ mix deps.get
Running dependency resolution
Dependency resolution completed successfully
  cowboy: v1.0.2
  cowlib: v1.0.1
  decimal: v1.1.0
  ecto: v0.14.3
  fs: v0.9.2
  phoenix: v0.15.0
  phoenix_ecto: v0.8.1
  phoenix_html: v1.4.0
  phoenix_live_reload: v0.5.2
  plug: v0.14.0
  poison: v1.4.0
  poolboy: v1.5.1
  postgrex: v0.9.1
  ranch: v1.1.0
  ・・・以下略
サーバの起動
ここまででサーバ起動できる。以下のコマンドでサーバ起動。
$ mix phoenix.server
起動したら http://localhost:4000/ にアクセスすると以下の画面が出る。

データベースの設定
Phoenix はデフォルトで postgres 使うようになっている。
入ってなければ以下で入れる。
$ brew install postgresql
launchctl の設定などは必要に応じてするとして、ここではそのまま起動。
$ postgres -D /usr/local/var/postgres
brew で入れるとログインユーザが登録されているだけなので、 postgres ユーザ作成を作成する。
$ createuser -P -d postgres
ecto でデータベースの作成を行うので、-d オプションで権限つけておく。
ここでは Phoenix の初期設定に合わせてパスワードも postgres にしておく。
作成したユーザの確認。
$ psql -q -c'select * from pg_user' postgres
postgres ユーザが入ればOK。
データベース周りの設定は、config/dev.exs や config/test.exs, config/prod.exs の以下の箇所にある。
# Configure your database
config :phoenix_example, PhoenixExample.Repo,
  adapter: Ecto.Adapters.Postgres,
  username: "postgres",
  password: "postgres",
  database: "phoenix_example_dev",
  size: 10 # The amount of database connections in the pool
Ecto
以下のコマンドでデータベースが作成される。
$ mix ecto.create
データベースを確認する。
$ psql -l
以下のようにphoenix_example_devが作成されていることが確認できる。
                                       List of databases
        Name         |  Owner   | Encoding |   Collate   |    Ctype
---------------------+----------+----------+-------------+-------------
 phoenix_example_dev | postgres | UTF8     | ja_JP.UTF-8 | ja_JP.UTF-8
ecto の依存は、プロジェクト生成時にあらかじめ mix.exs でphoenix_ecto, "~> 0.8"と定義されている。
  defp deps do
    [{:phoenix, "~> 0.15"},
     {:phoenix_ecto, "~> 0.8"},
     {:postgrex, ">= 0.0.0"},
     {:phoenix_html, "~> 1.4"},
     {:phoenix_live_reload, "~> 0.5", only: :dev},
     {:cowboy, "~> 1.0"}]
  end
そしてアプリケーションの依存として :phoenix_ecto が定義されている。
  def application do
    [mod: {PhoenixExample, []},
     applications: [:phoenix, :phoenix_html, :cowboy, :logger,
                    :phoenix_ecto, :postgrex]]
  end
CRUD アプリケーション
以下で User の CRUD を作成する。
$ mix phoenix.gen.html User users name:string email:string bio:string number_of_pets:integer
必要ファイルが生成される。
* creating priv/repo/migrations/20150805143631_create_user.exs
* creating web/models/user.ex
* creating test/models/user_test.exs
* creating web/controllers/user_controller.ex
* creating web/templates/user/edit.html.eex
* creating web/templates/user/form.html.eex
* creating web/templates/user/index.html.eex
* creating web/templates/user/new.html.eex
* creating web/templates/user/show.html.eex
* creating web/views/user_view.ex
* creating test/controllers/user_controller_test.exs

Add the resource to your browser scope in web/router.ex:

    resources "/users", UserController

and then update your repository by running migrations:

    $ mix ecto.migrate
指示の通りに、web/router.ex にリソースの定義追加する。
  scope "/", PhoenixExample do
    pipe_through :browser # Use the default browser stack

    get "/", PageController, :index
    resources "/users", UserController
  end
ではDBマイグレート。
$ mix ecto.migrate
つらつらと以下のようになる。
$ mix ecto.migrate
Compiled lib/phoenix_example.ex
Compiled web/models/user.ex
Compiled web/views/page_view.ex
Compiled web/router.ex
Compiled web/views/layout_view.ex
Compiled web/views/error_view.ex
Compiled web/controllers/page_controller.ex
Compiled lib/phoenix_example/endpoint.ex
Compiled web/controllers/user_controller.ex
Compiled web/views/user_view.ex
Generated phoenix_example app

== Running PhoenixExample.Repo.Migrations.CreateUser.change/0 forward

create table users

== Migrated in 0.0s
サーバ起動。
$ mix phoenix.server
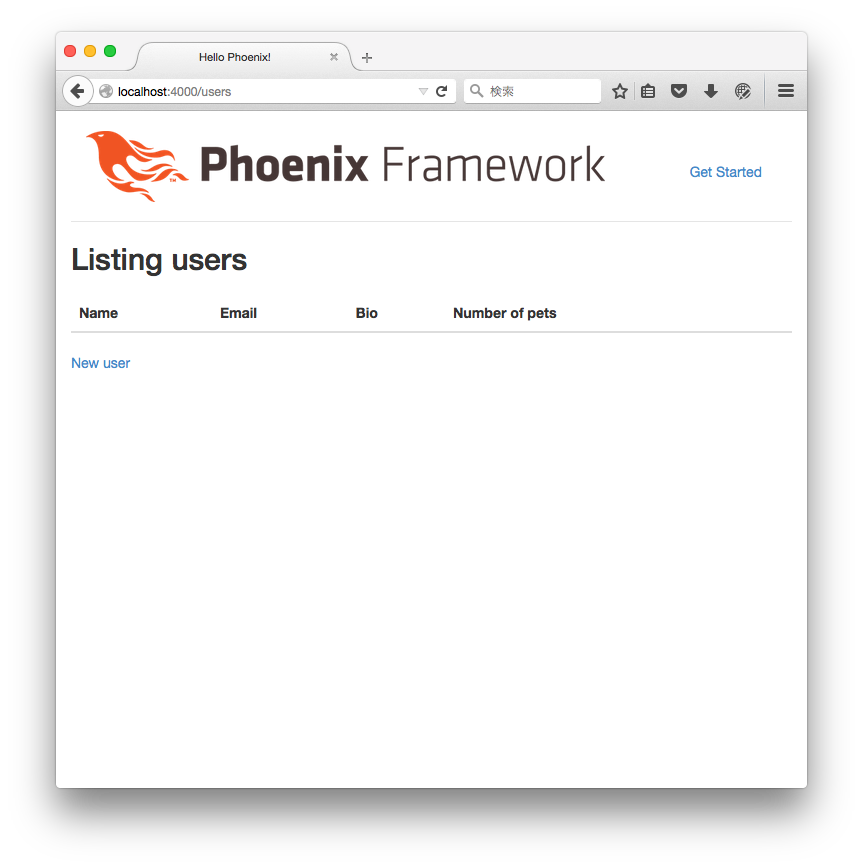
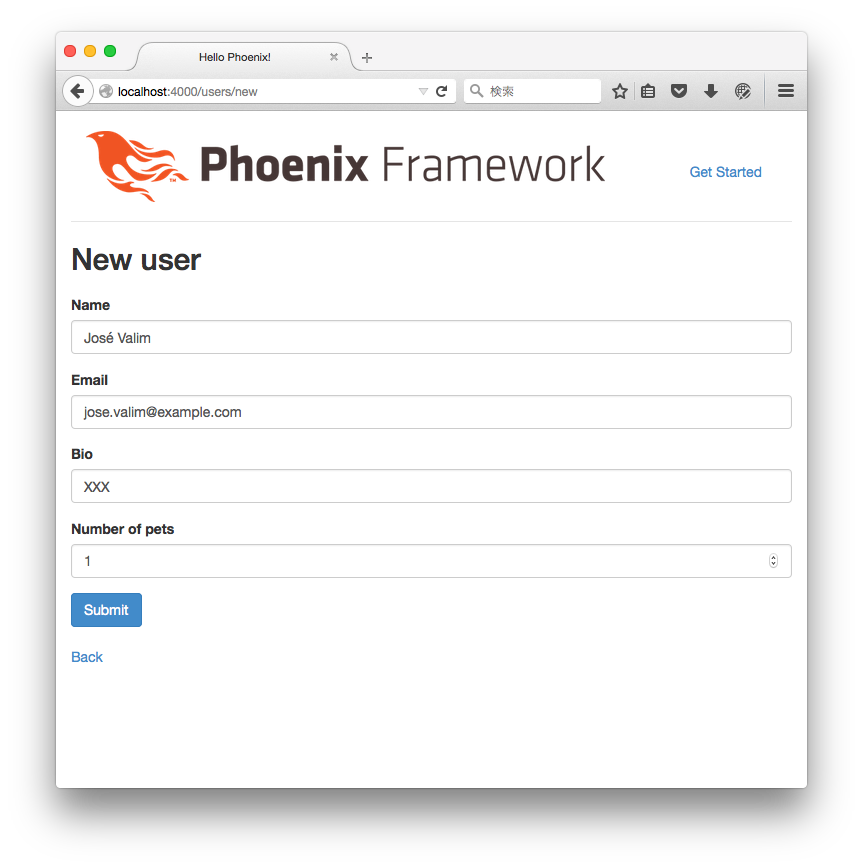
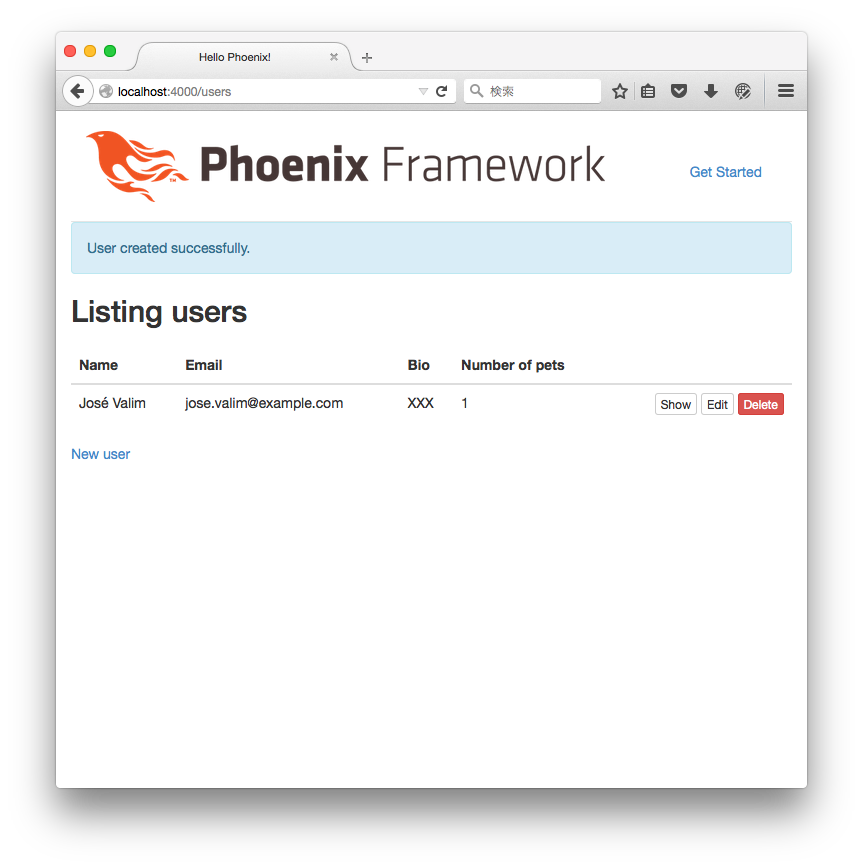
http://localhost:4000/users でアクセスすると User の CRUD アプリが動く。


